Step 1
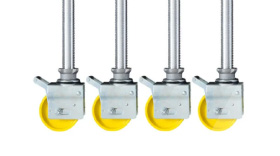
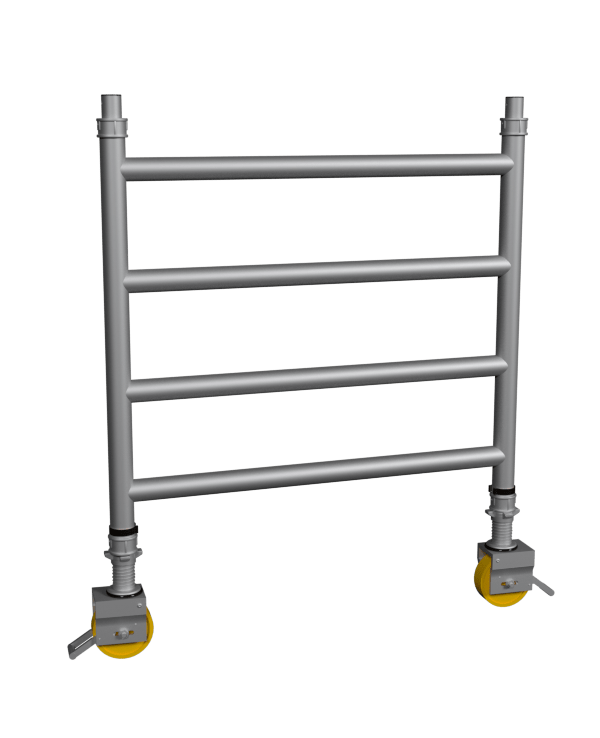
Push castor spigot into the adjustable leg. Please see our FAQ Video if you're unsure. Now push castor and adjustable leg assemblies into 4 rung frames.
Note: Base plates can be fitted to adjustable legs replacing the castors if it is not necessary to move the tower that frequently.

Step 2
Once castors are in place on the 1m frame repeat the procedure with the other 1m frame.
Step 3
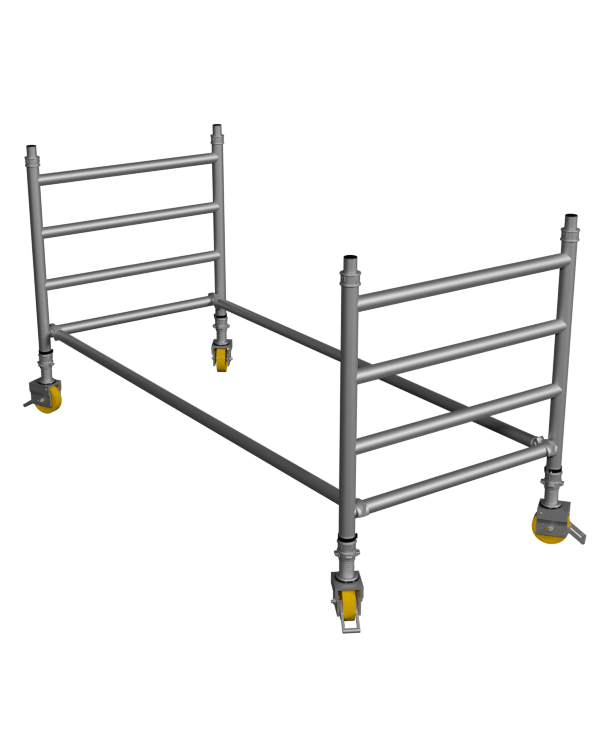
Fit one horizontal brace (red) onto the vertical of a span frame, just above the bottom rung, with the claw facing outwards. The frame will now be self-supporting.
Note: make sure all brace is engaged and fully locked.

Step 4
Position the ladder frame as shown and fit the other end of the horizontal brace onto the vertical.
Fit a second horizontal brace on the other side of the frames to square the tower.
Step 5
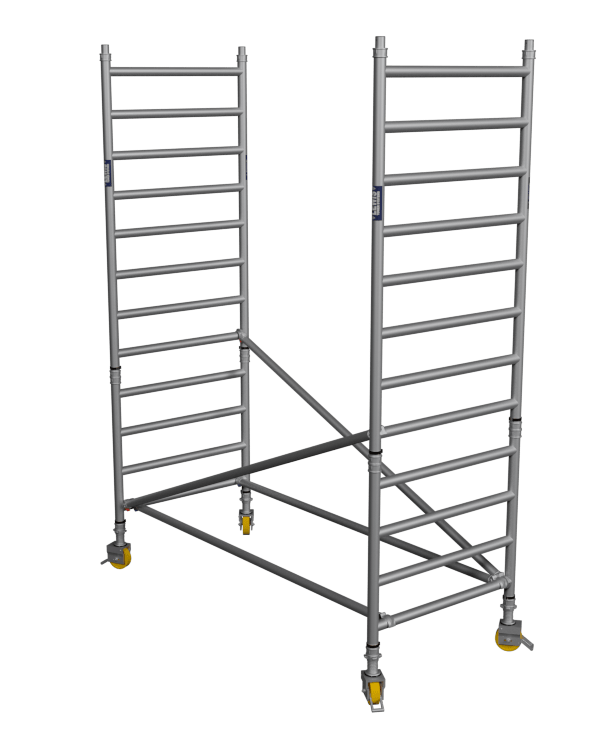
Fit two additional end frames, ensuring the frame interlock
clips are engaged. Fit two diagonal braces (blue) in opposing directions, between the 1st and the 3rd rungs.
Ensure the frames are vertical and level by checking with a spirit level and setting the adjustable legs as required.
IMPORTANT - Only use the adjustable legs to level the tower and not to gain extra height.
Step 6
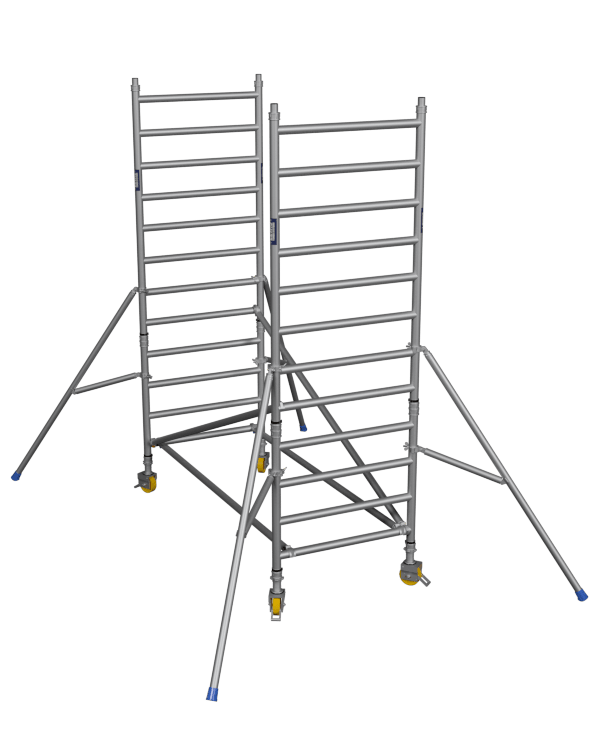
Fit all four stabilisers to the tower making sure that the rubber feet are touching floor.
Step 7
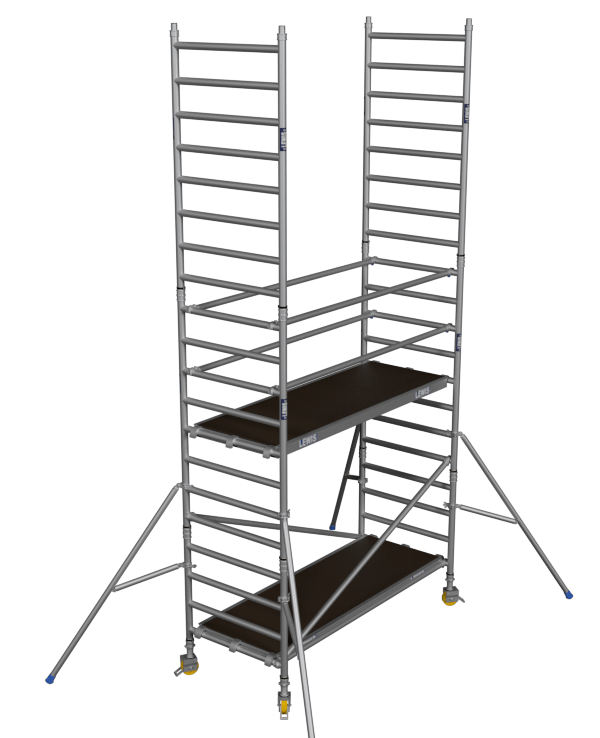
Fit a temporary deck on the lowest rungs. Fit a trapdoor deck on the 4th rung (2.0m) with the trapdoor next to the ladder.
Ensure the trapdoor is positioned with the hinges towards the outside of the tower as shown. Climb the ladder and, from the protected trapdoor position, fit guardrails on the 5th and 6th rungs (in that order) on both sides of the platform.
Do not climb onto the deck until all guardrails are in place.
When horizontal braces are fitted as guardrails, they should be 0.5m and 1.0m (1 and 2 rungs) above the platform level in all cases.

Step 8
Add two additional 2m Ladder and Span frames to complete your tower height.
Step 9
Add two more diagonal braces between the 5th and 9th - 9th and 13th rungs. If finishing at this height (4.2m platform) reposition the fixed deck to the 8th rung on the tower.
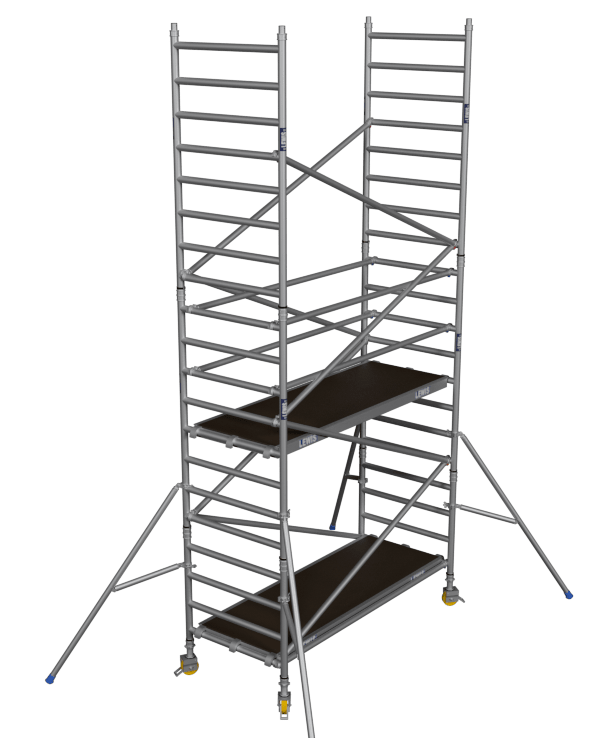
Step 10
Remove the Temporary deck from the bottom rung and place it on the 8th rung with a trapdoor deck alongside it, with the hinges towards the outside of the tower, and the trapdoor next to the ladder.
Climb up the ladder, and from the protected trapdoor position, fit the guardrails on the 9th and 10th rungs, in that order, on both sides of the tower.
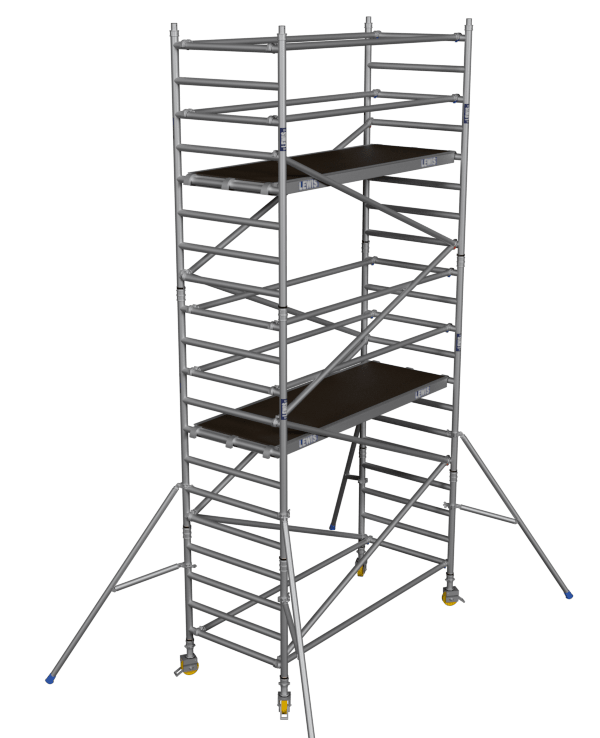
Step 11
Fit the toe boards - see the components section for guidance on how to fit.
The tower is now complete.
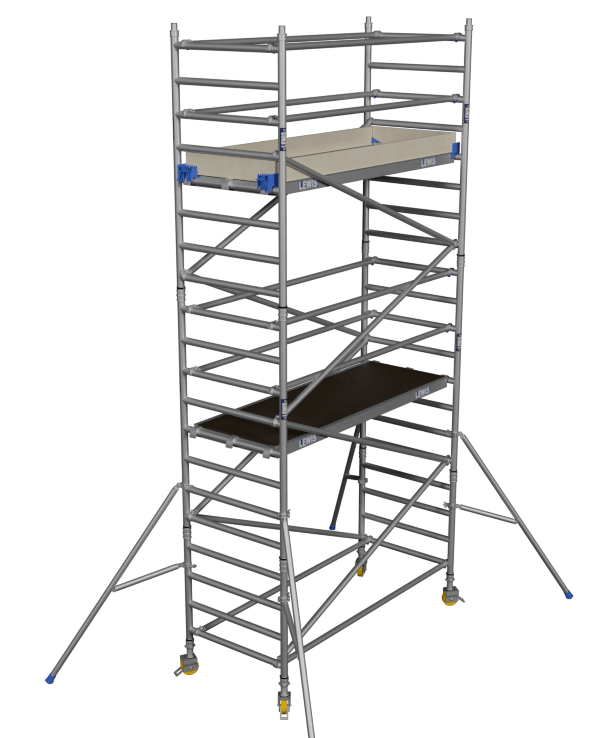
ASSEMBLY PROCEDURE - When building beyond a 4.2m platform height
If your tower is higher then described in this how to please read below:
Continue to add pairs of end frames, diagonal braces and fit trapdoor decks as shown in the previous steps.
When building beyond a 4.2m platform height Continue until the required height is reached.
Re-position the fixed deck to the required platform height and fit a trapdoor deck alongside it as shown in Step 10.
Fit the diagonal braces at the top of the tower as shown in Step 9. Fit the final guardrails as
shown in Step 10.
Do not climb onto the deck until all guardrails are in place.

